Sunday 2 April 2017

The start of the interior

It was time for starting to fit some of the bigger interior parts. It is nice to be working on the car with all clean bits and pieces to put together. That said we fully waxoyled the car. All the bits and pieces inside the door panels, any nocks, heater channels etc. All to keep it going longer.
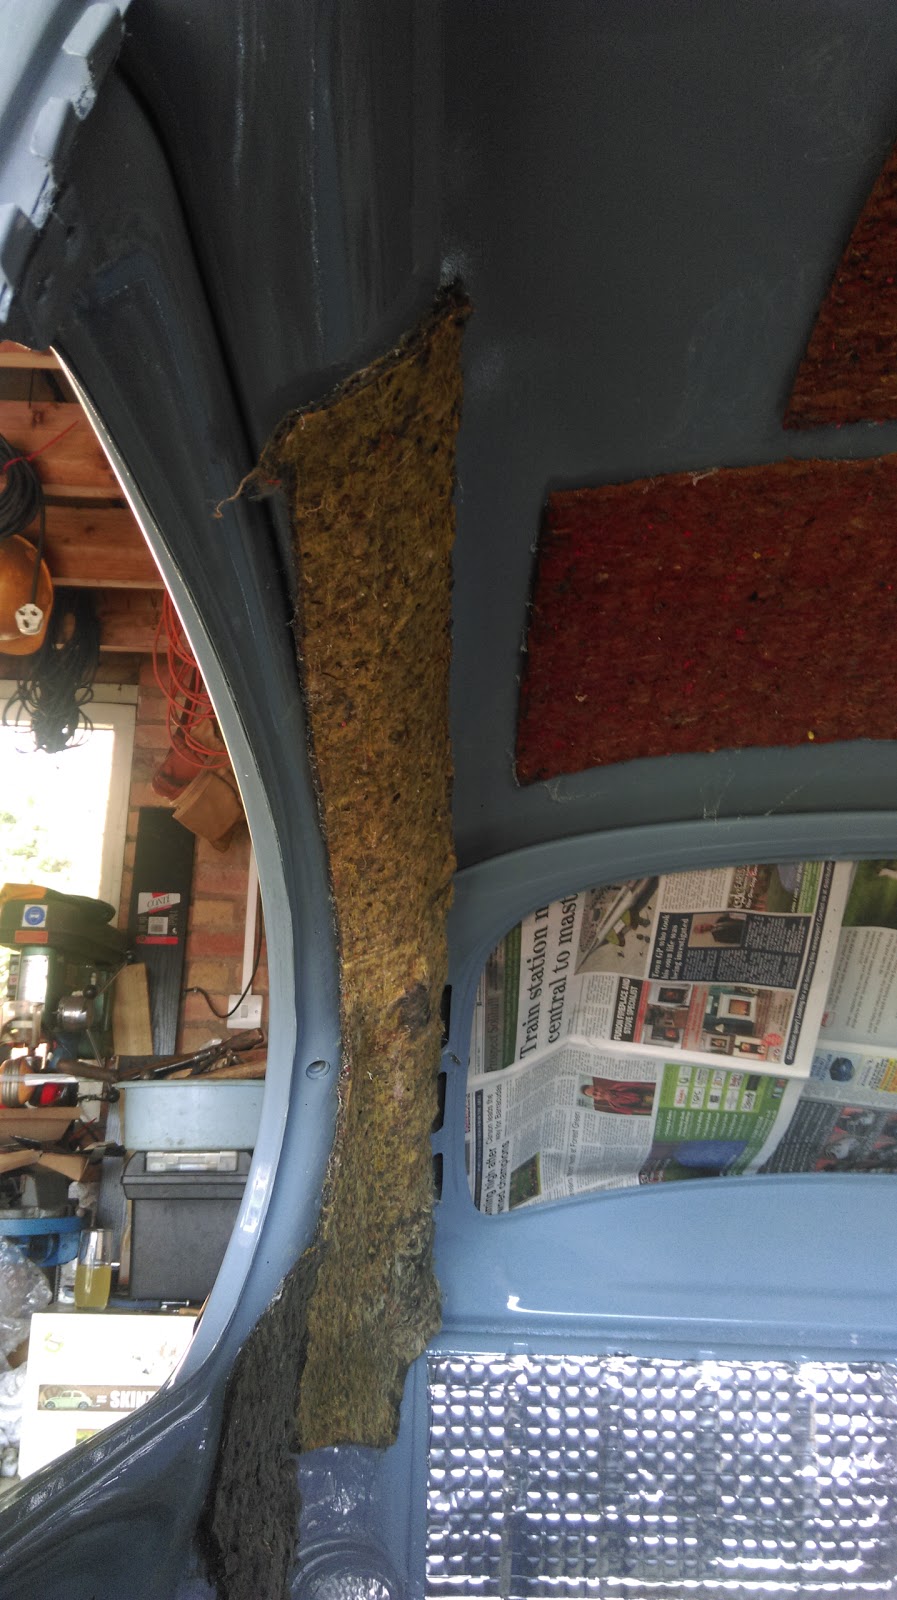
So the original felt and roof sound deadening in, time to start on the headlining. Having read lots on the internet and looked at pictures, one thing i learnt, they are really hard to fit! The door post went really well, Got it on nice and smooth with a really good spray glue that grabs instantly. Couldn't resist getting the grab handles on to.
 Next was the headlining itself. After getting the old rods in and all up on the roof i started at the front and moved it to the back to lay it out. Then i started from the front, gluing to the front and working my way back. It fitted really nicely around the door opening and looks really smooth a the front


 Moving back, as the instructions said it got a lot harder. Although i have the TMI headlining, turns out they aren't made the way they used to.  I soon realised that they don't taper the rear parts of the headlining like they used to and struggling to find any good fitted headliners online i decide to tailor the back part to try and get a better fit. A bit of unpicking and re-sowing i wished i had realised before starting to save doing it in the car. So after 2 whole days to get that far it was time for the big glue and fit around the back. I really took my time to get as smooth a finish as possible. There are a couple of little areas that i want to try and smooth out with the hairdryer but i'll wait and see if they settle first.
But all in all it looked good and the truth is, when everything is in you don't even look at the roof. I put the read door panels in that i have recovered, gives you a sneak peak at what my interior will look like. Put the old original part of carpet in the back to get a feel for what it will look like. Really pleased how it is coming together


Bits and pieces coming together

Next was getting some of the interior back in. The steering completed and the steering column back in. Might have took about 3 attempts to make sure we had all the bits and pieces in.
The the wiring loom went in. Luckily all marked up made it easier to work out what goes inside, to the front and to the rear.

 The wiring all in to the engine bay ready to go, Next i started to put some seals in, bonnet and boot seals fitted to the car.
 Then it was time to put some new sound deadening in. Some good quality matting to the floor doors, and boot to keep some of the rattles and drumming down. However i am not going over the top trying to block out all the nose as i think that is some of the charm of having a classic car.

The rebuild begins.

With the body back from the paint shop it was time to start to put it all back together. The front suspension started to go on, one of those jobs that are easier said than done to get it all together with the new bushes in, but with a bit of perseverance it was put back together. 

 At the other end the gear box was put on, Rear dampners, drive shafts and rear breaks. Already starting to look like a car is coming together, Everything is getting a good coating of the relevant grease or copper grease as it goes together.
Then it was time to call in the favours, time to lift the body onto the floorpan. Not wanting to risk any scratches we got in plenty on man power to lift and position and it went on lovely. So nice to see it back together after all this time.
 Front suspension then put back on. Springs, drums, etc all the original parts powder coated or painted up look as good as new. One thing i quickly learnt was that all the paint, especially the marine paint on the floor means tapping out the screw holes.

Then the wheels went on and it really started to look like a car again. Still loads to go but starting to feel like we are starting to make real progress. It has been a long time getting to this stage with moving house, renovating it, building garages and completing the garden but now the focus is back on the bug.


All painted and ready for rebuilding

So everything is now painted, all the wings, bonnet, boot, inside and out and the wheels painted body colour to. So pleased with the finished result. I love the colour and the standard of paint is amazing.


Also while the body was off to paint i got some of the suspension and breaking system powder coated in black and started to build it up ready for assembly. Brakes and suspension all built up and all the main parts are the original with just the usual brake pads etc bought new,


The the last prep job was putting a good coat of underseal onto the bottom of the floorpan to add extra protection and keeping it going for many more years.

Then it was time to pick up the body from the paint shop, looks amazing and now the rebuild can begin. Most the parts are ready to go back on. Rich has been working on getting all the engine parts ready and i have completed the reupholstery of the seats and covering of the door cards which are looking really good. Haven't taken any photos yet so will save that for another day.