Wk 25 - 27/01/13
Last week I only spent a couple of hours on the car. We finished of the welding for the rear passenger side quarter but with it 6 inches deep in snow outside it was freezing so called it a short day
Today I cleaned up the welds. I took most of them back with the angle grinder and they are starting to look good. I am awaiting a nifty tool to turn up to be able to get into the corners and difficult bits and to make it easier to grind upside down. I'm not the bravest with the angle grinder.
I didn't fancy starting the next big bit of body work with cutting and welding. It has been a long week at work so i fancied something a little easier and relaxing.
I cleaned up the last of the bits of rust in the rear inner arch getting into the tight spaces with a thin wire brush on the drill. Then a couple of coats of rust treatment and next week i'll get it painted to protect it. I got in all the seams to treat them and will put seam sealer on when done.

Moved onto the bottom of the heater channels. They look really clean with only a little surface rust. Started to remove all the underseal that has been protecting it.
Then I cleaned up a few spots of rust that are on the side of the heater channel. Nothing major just wire brushed it back and then rust treated


Last week I only spent a couple of hours on the car. We finished of the welding for the rear passenger side quarter but with it 6 inches deep in snow outside it was freezing so called it a short day
Today I cleaned up the welds. I took most of them back with the angle grinder and they are starting to look good. I am awaiting a nifty tool to turn up to be able to get into the corners and difficult bits and to make it easier to grind upside down. I'm not the bravest with the angle grinder.
 |
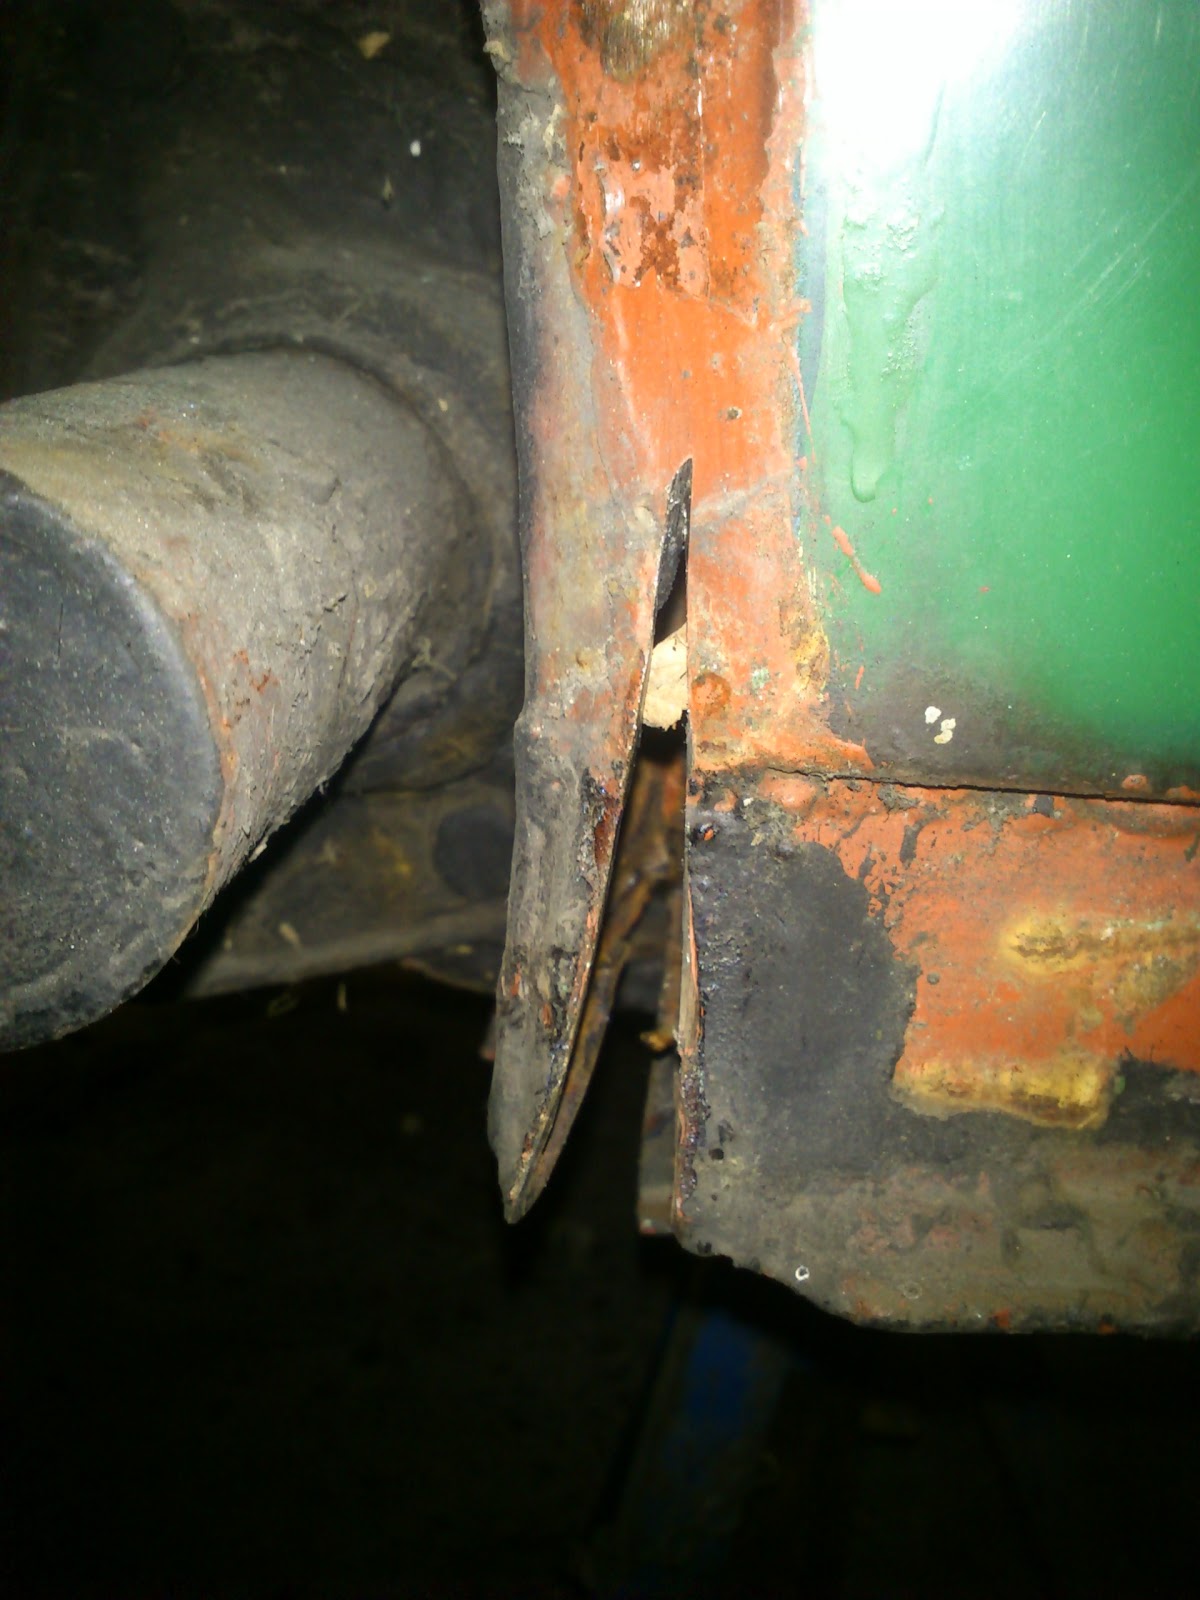
| All welded up last week. Looking good. |
 | ||
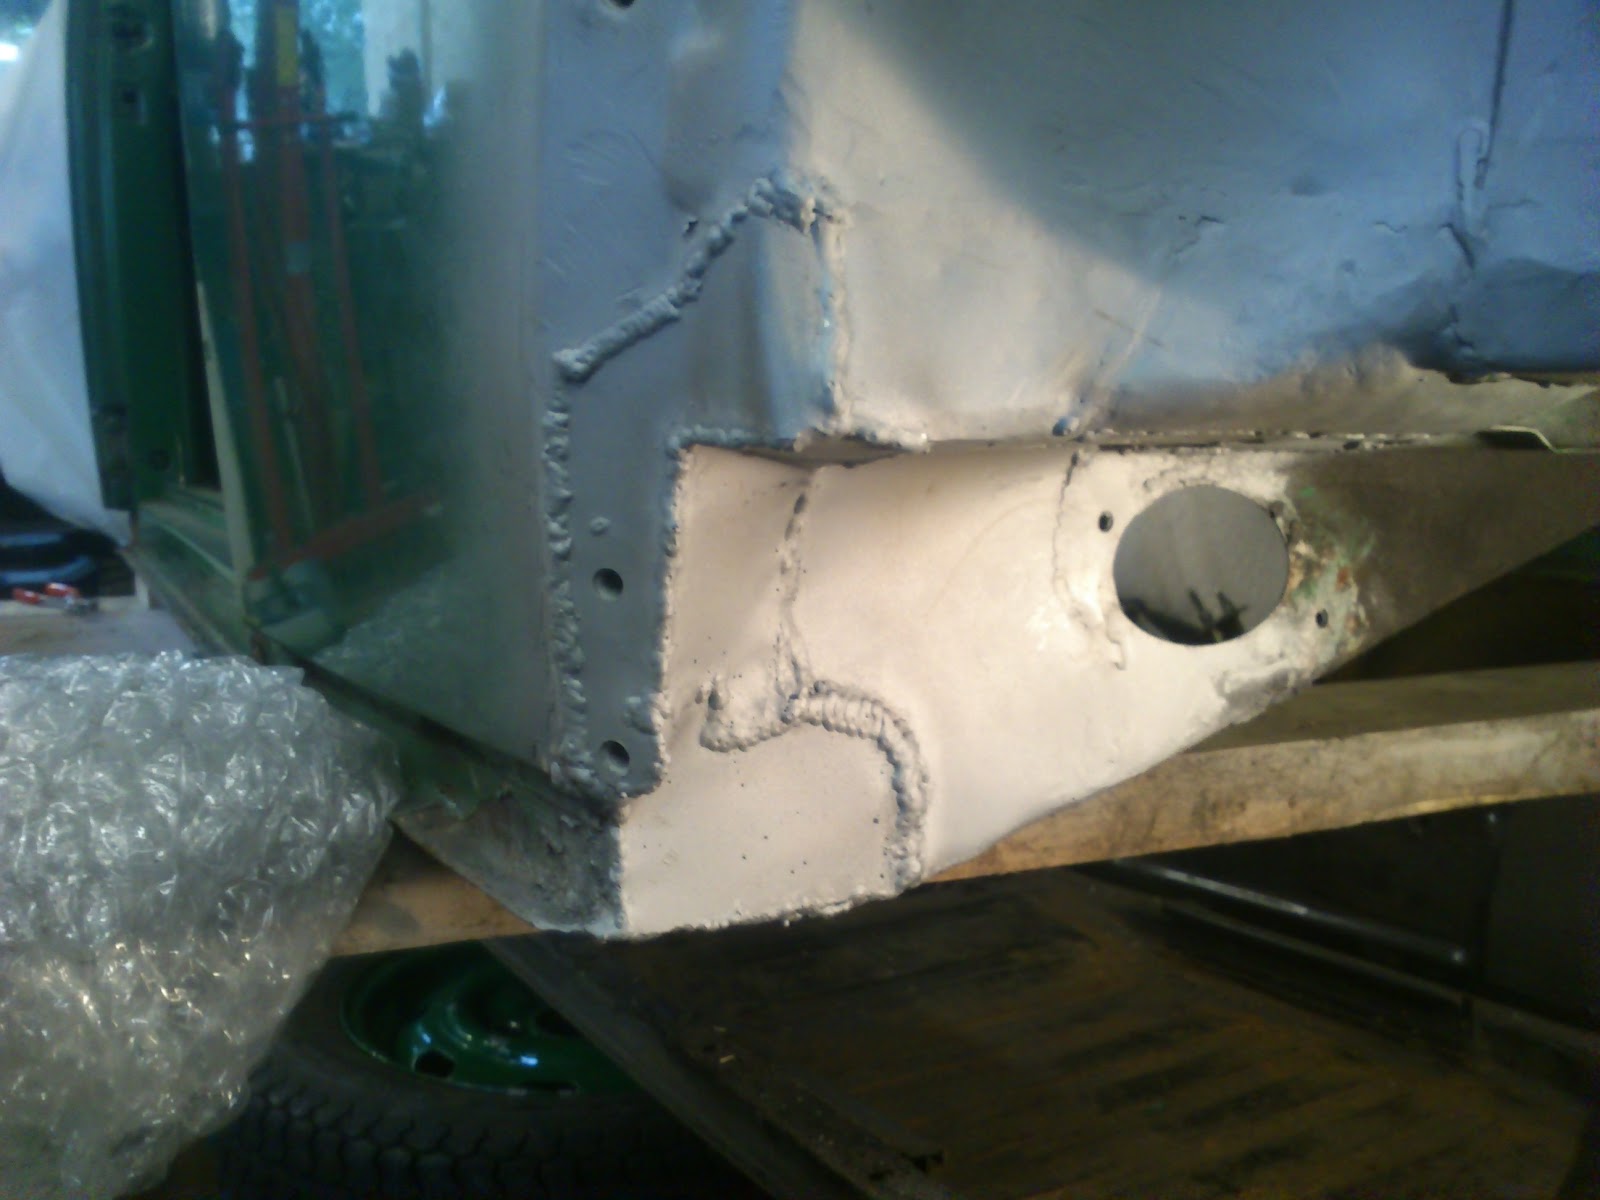
| Started to grind back the welds |
I cleaned up the last of the bits of rust in the rear inner arch getting into the tight spaces with a thin wire brush on the drill. Then a couple of coats of rust treatment and next week i'll get it painted to protect it. I got in all the seams to treat them and will put seam sealer on when done.

Moved onto the bottom of the heater channels. They look really clean with only a little surface rust. Started to remove all the underseal that has been protecting it.
 |
| Before |
 |
| After |