Friday 28 December 2012

Cleaning up engine bay

  wk20 - 28/12/12- 5 hours

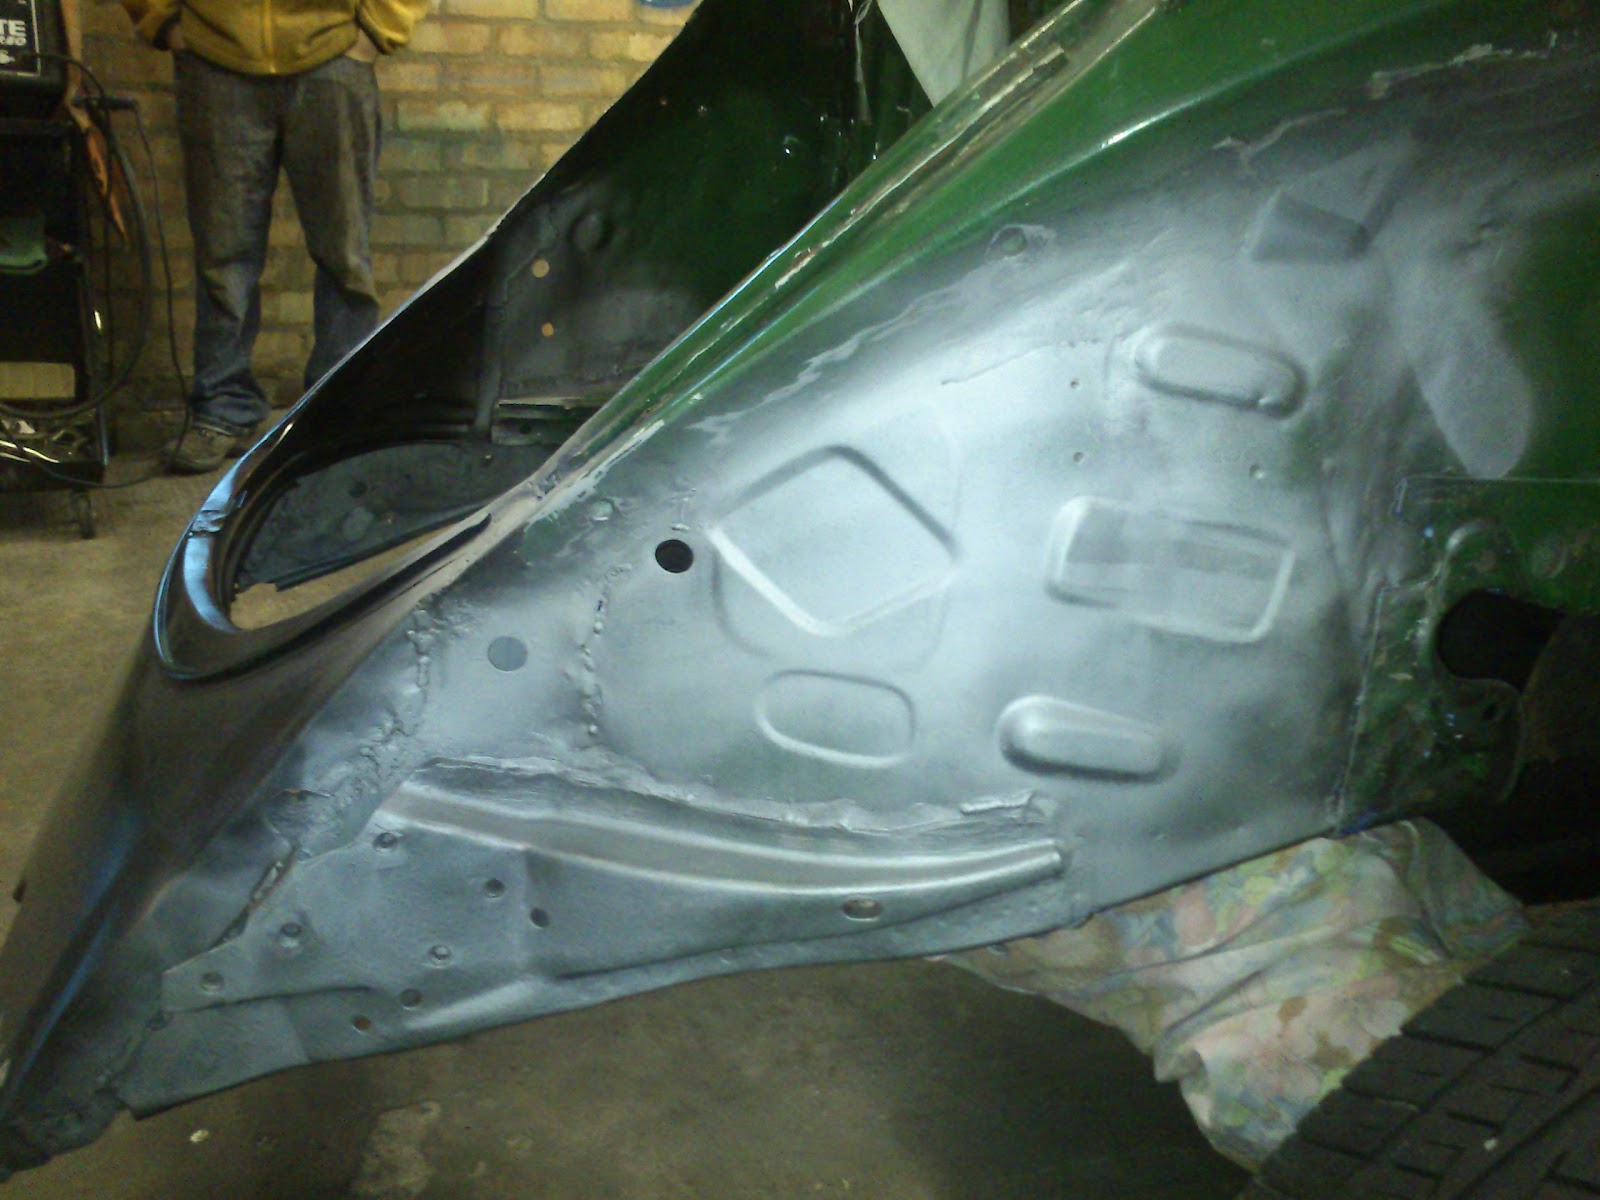
Got another day on the car this week but was a bit of a slow day. Cleaned up the grease in the engine bay with some white spirit. There are a few spots of rust in the engine bay to clean up, made a start but need to get a smaller wire brush for the drill to get into the corners.

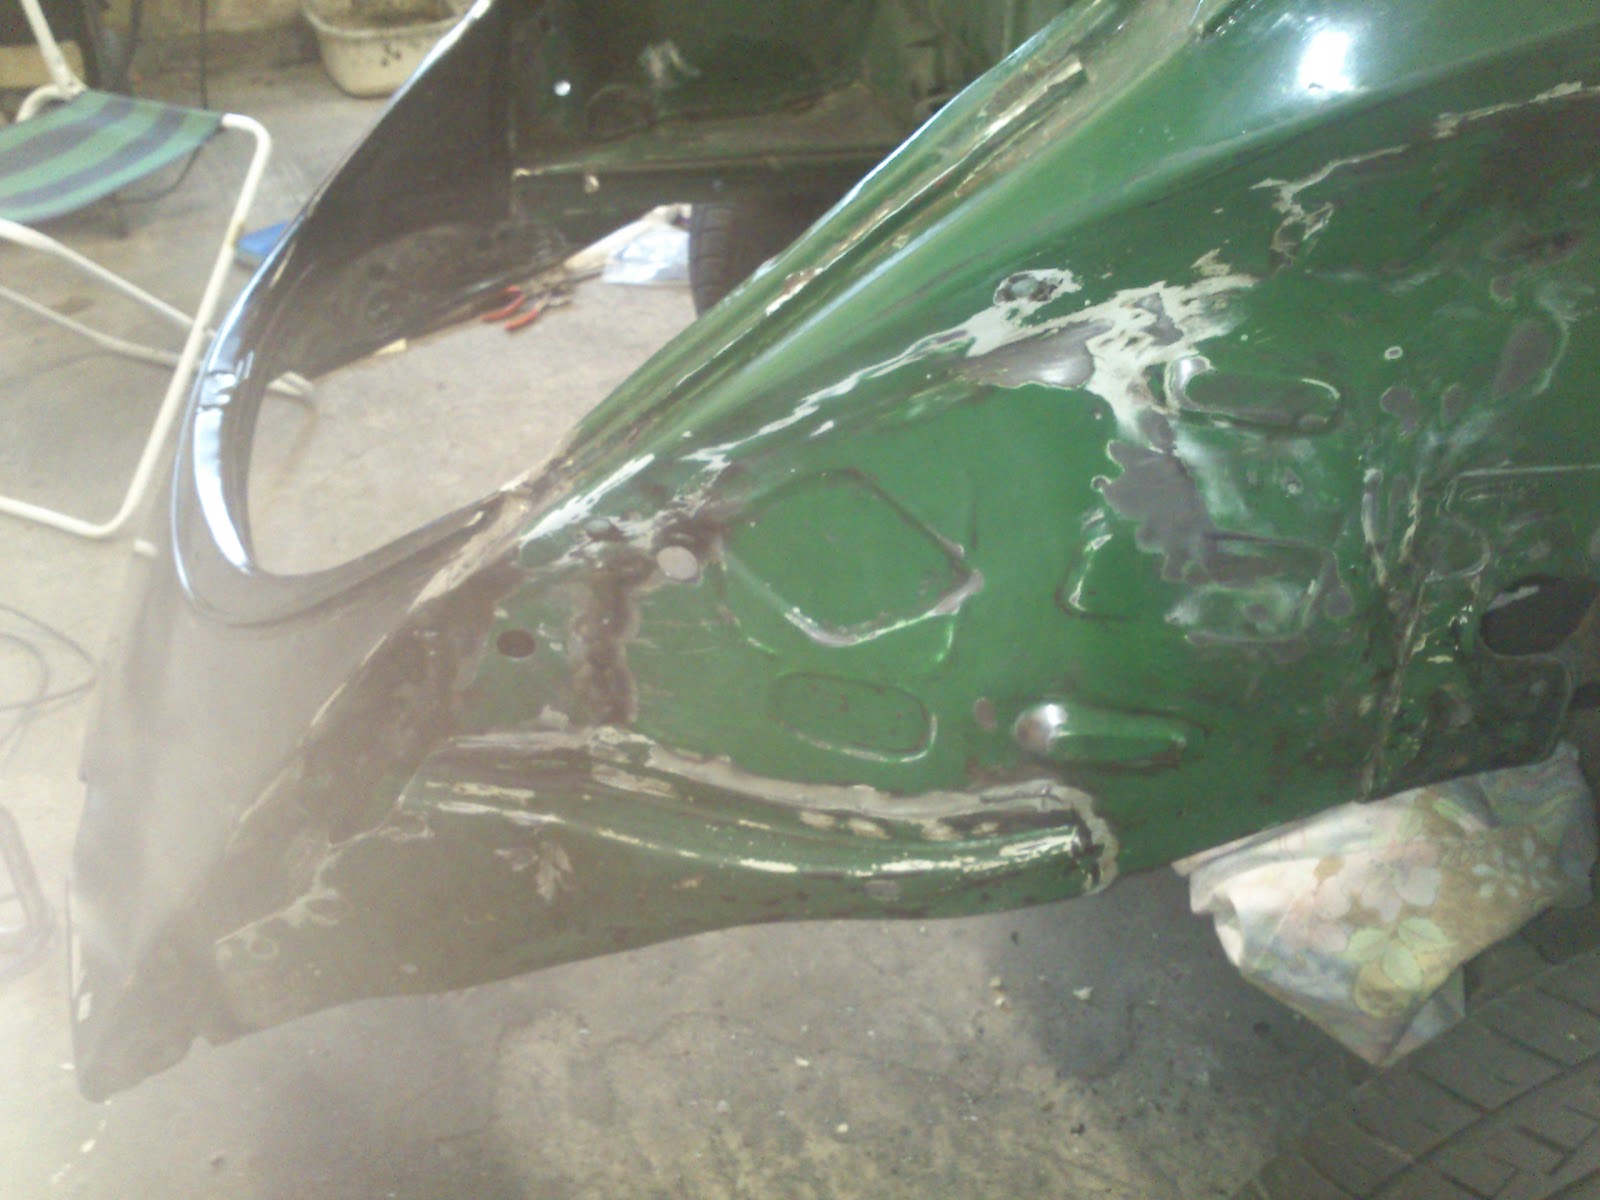
In the grill above the back of the engine lid i started to clean up the grime under the grill. When i started to clean i realised there was a lot of loose paint. Turns out to be a whole layer paint but it is really flaky, i am guessing because it was never keyed being so hard to get to. So with some little hand held wire brushes and a screw driver I have started to clean off the loose paint. It is going to take a while but i have made a start.
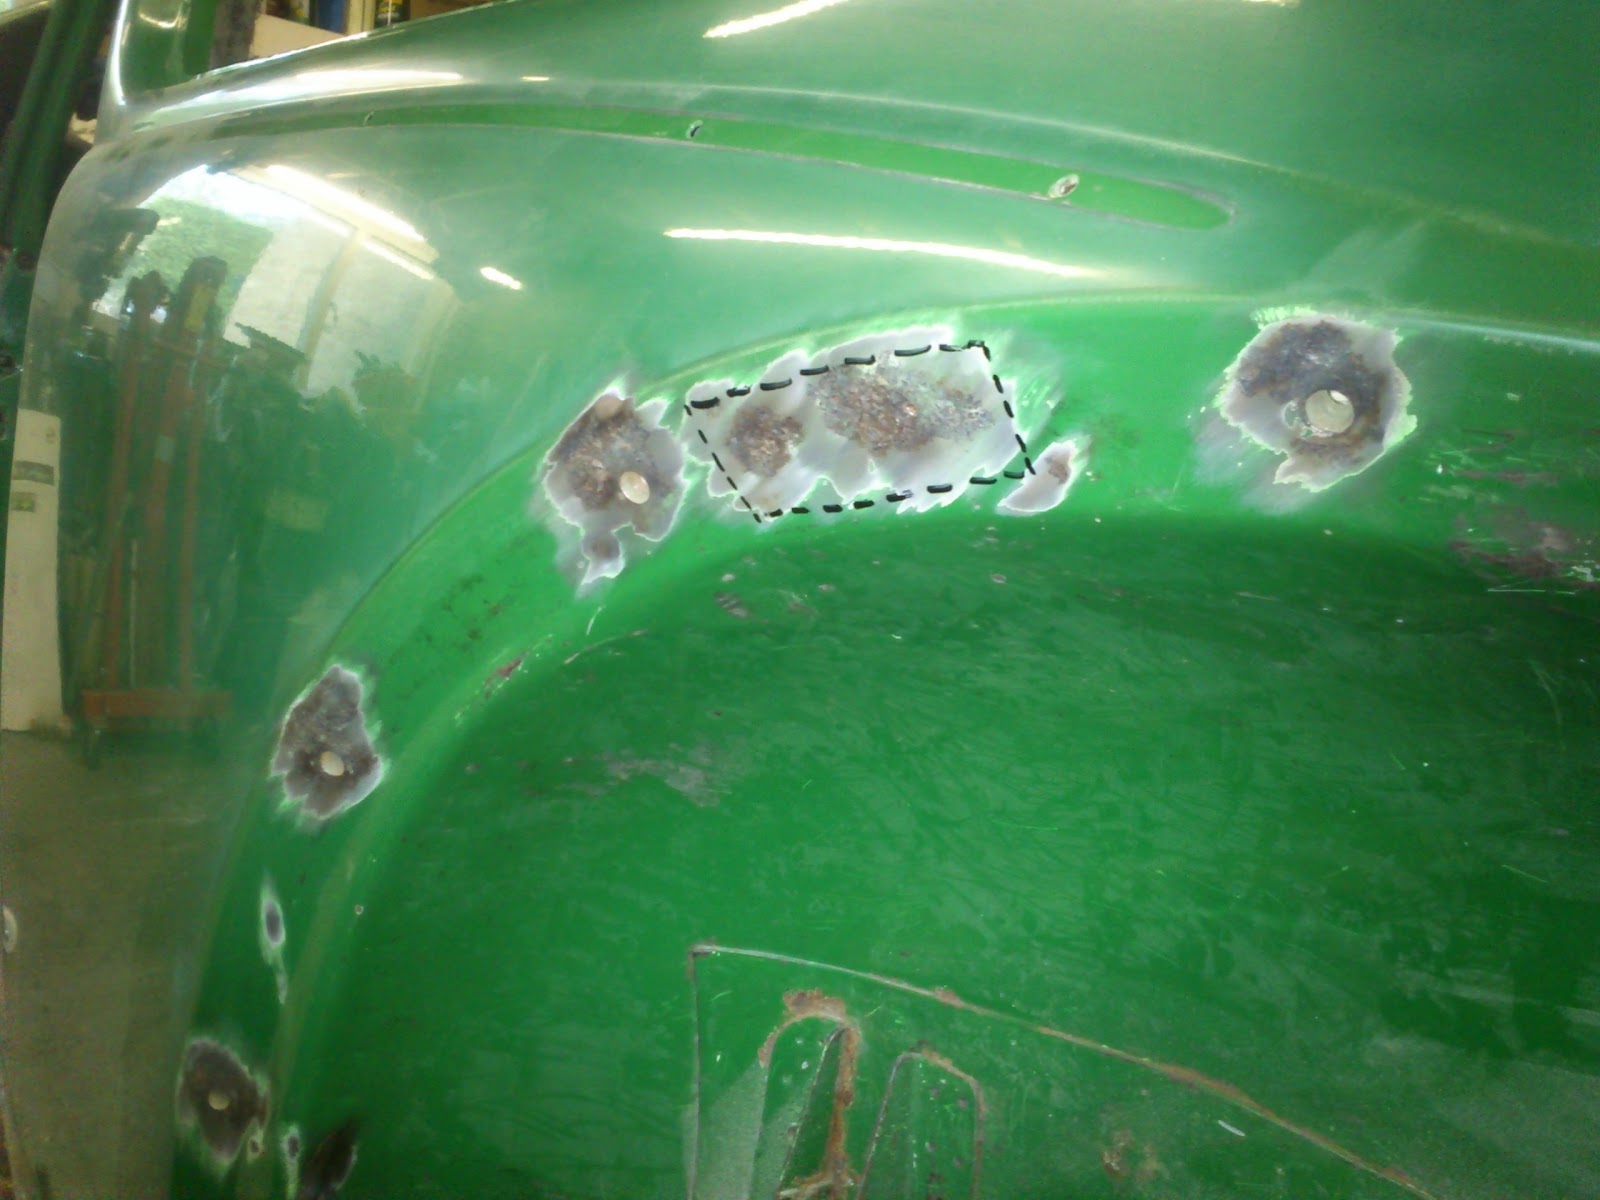
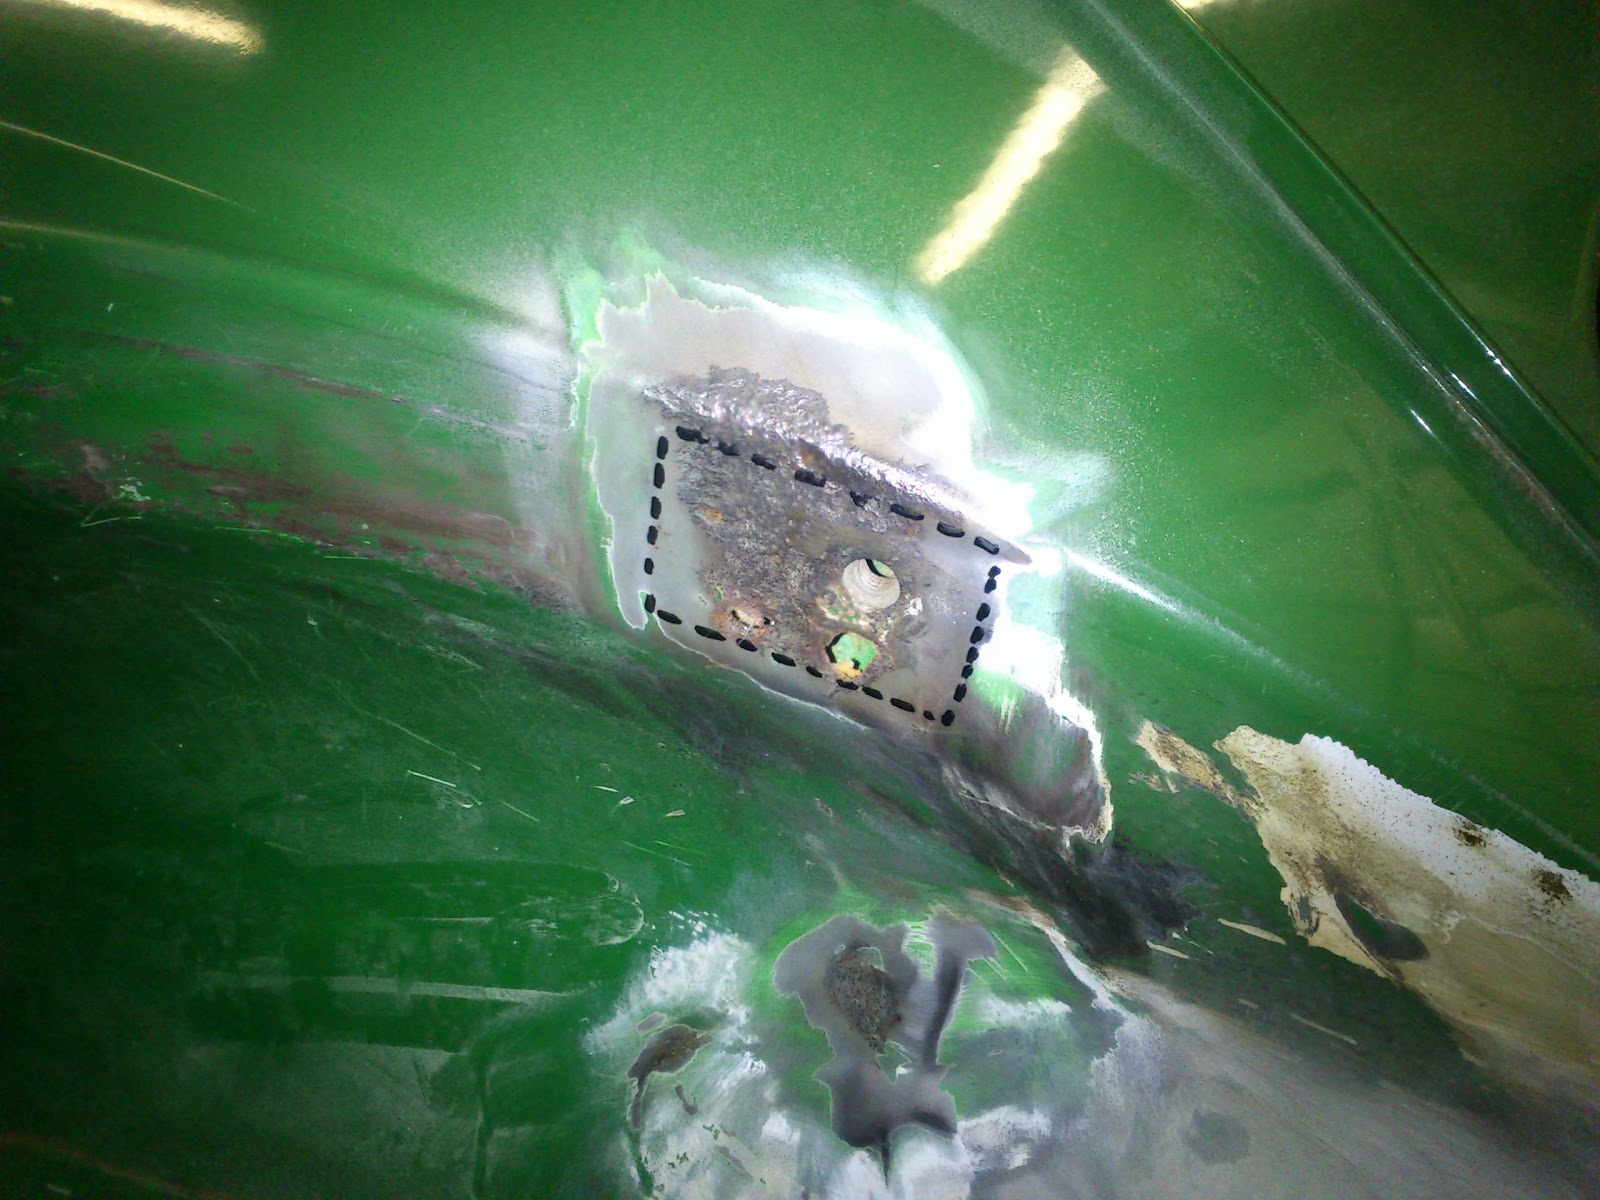
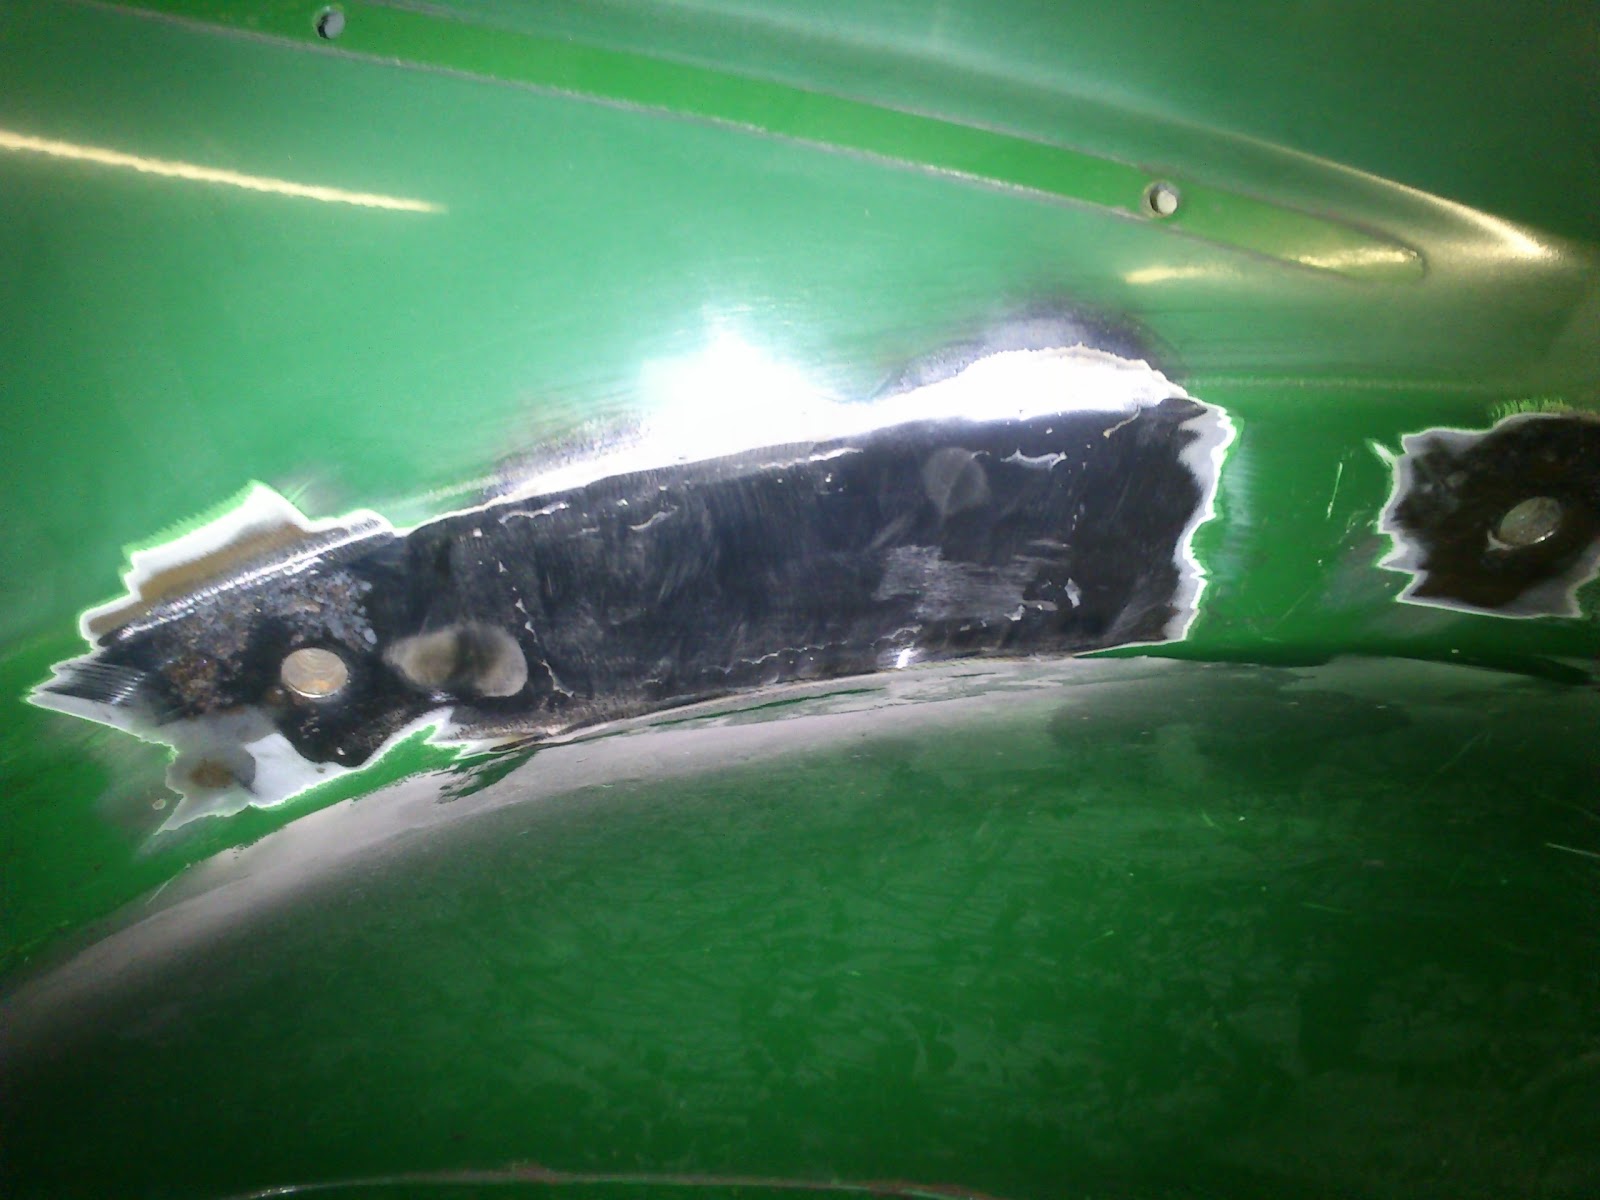
There is also a couple of spots of rust that need to be cleaned and treated.

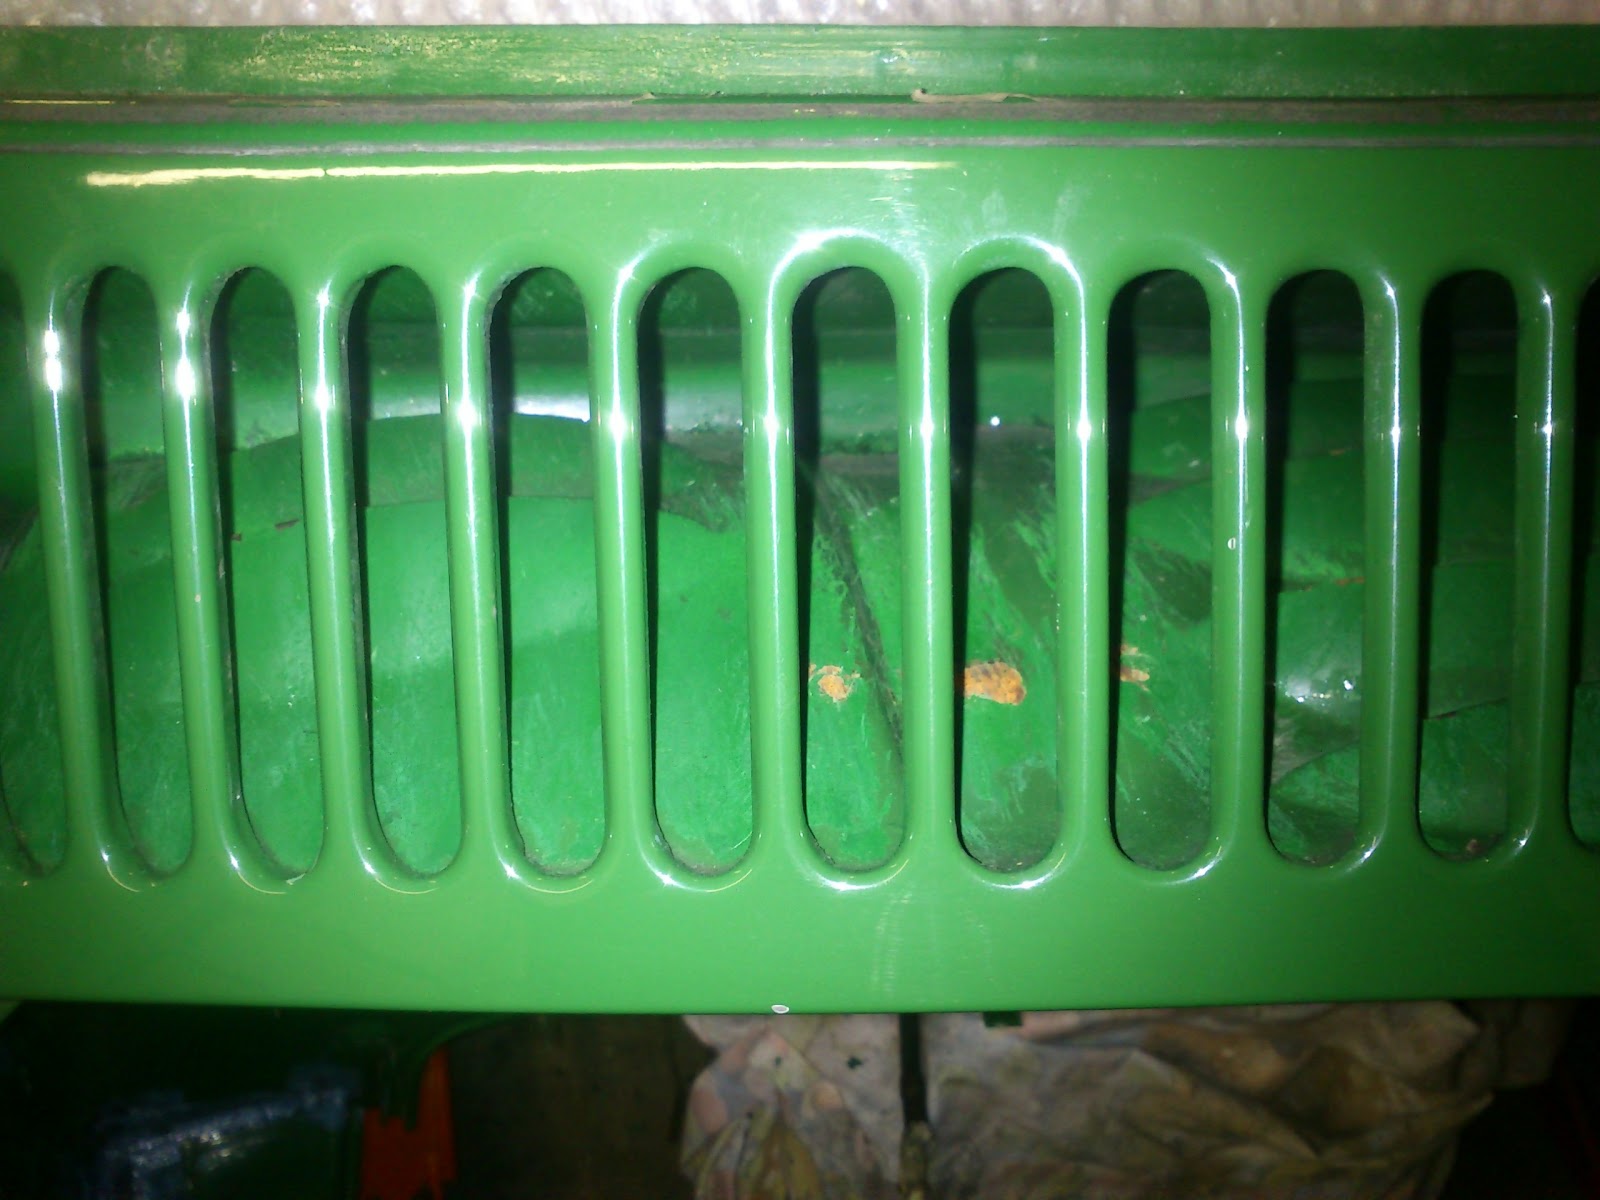
The dark parts are where there is still loose paint to clean off.

Couple of rust spots to clean and treat.

Monday 24 December 2012

Rear arch cont.. - Wk 20 - 23/12/12

This week was working on the rear arch, sorting out the section that the wing bolts onto. First I cleaned up all the bits of rust with the angle grinder to see what state they were in. There were 2 patches to cut out and replace


Sections marked up to cut out.

These were cut out with the angle grinder and then new pieces made. I did my first bit of welding on the car welding the nut onto the back of the plate for the wing. Then Rich welded in the patches and i cleaned up all the welds.

My first bit of welding for the car
Patches welded in and cleaned up
 As with all the bits of welding that we are doing at the moment I put a coat of zinc primer on to keep them protected and then when we have been around all the car will concertrate on making the body work A*

Sunday 16 December 2012

Rear arch metalwork - Wk 19 - 16/12/12

This week was back on with the body work on the rear arches now the valence is in.

First was quite a bit of work on grinding down the welds form the rear valance and cleaning up the last of the stonechip from the rear arches. The wire brush worked well on the stone chip. There has been a bit of repair work done at some point on the back. The good things is that it looks like the job was done really well. No dodgy filing or anything.

Rear arch cleaned up
On the passenger inner rear arch there was a little bit of welding needed. I cut it out and then Richard welding in the patch. I ground it back and it looks great. With all the welds cleaned back you can't even see where it was. I don't understand why you would want a patch welded on the outside when you can make it look like it was never there. It looks great


Weld in place ready for grinding


Weld ground down looks great
All the paintwork at the back was cleaned up, wiped down and then kurust applied. With this dry a coat of Zinc primer was applied to keep it all clean and rust free while the rest of the work was done. Everything is looked good and the last couple of blemishes from my first attempt at grinding will be covered once the stone chip and paint is on.

Zinc primer on, can't even see where the weld was

All cleaned up and zinc primer on.

Foam, Foam, Foam - wk17 - 1/12/12

With only a couple of hour this week to spend on the car I worked on removing some more of the foam over the rear arches. I equipped myself with the necessary tool, screw driver and wire formed to have a hook on the end.

Repeated prodding and pokingresulted in a large bowl of foam but thats only about half done

Bowl of foam

Still more to go but about 10inches out.