Sunday, 24 February 2013

Front Valence

Wk 29  24/02/13

This week made good progress on the front of the car. Tried the new wing on and it fits really well.

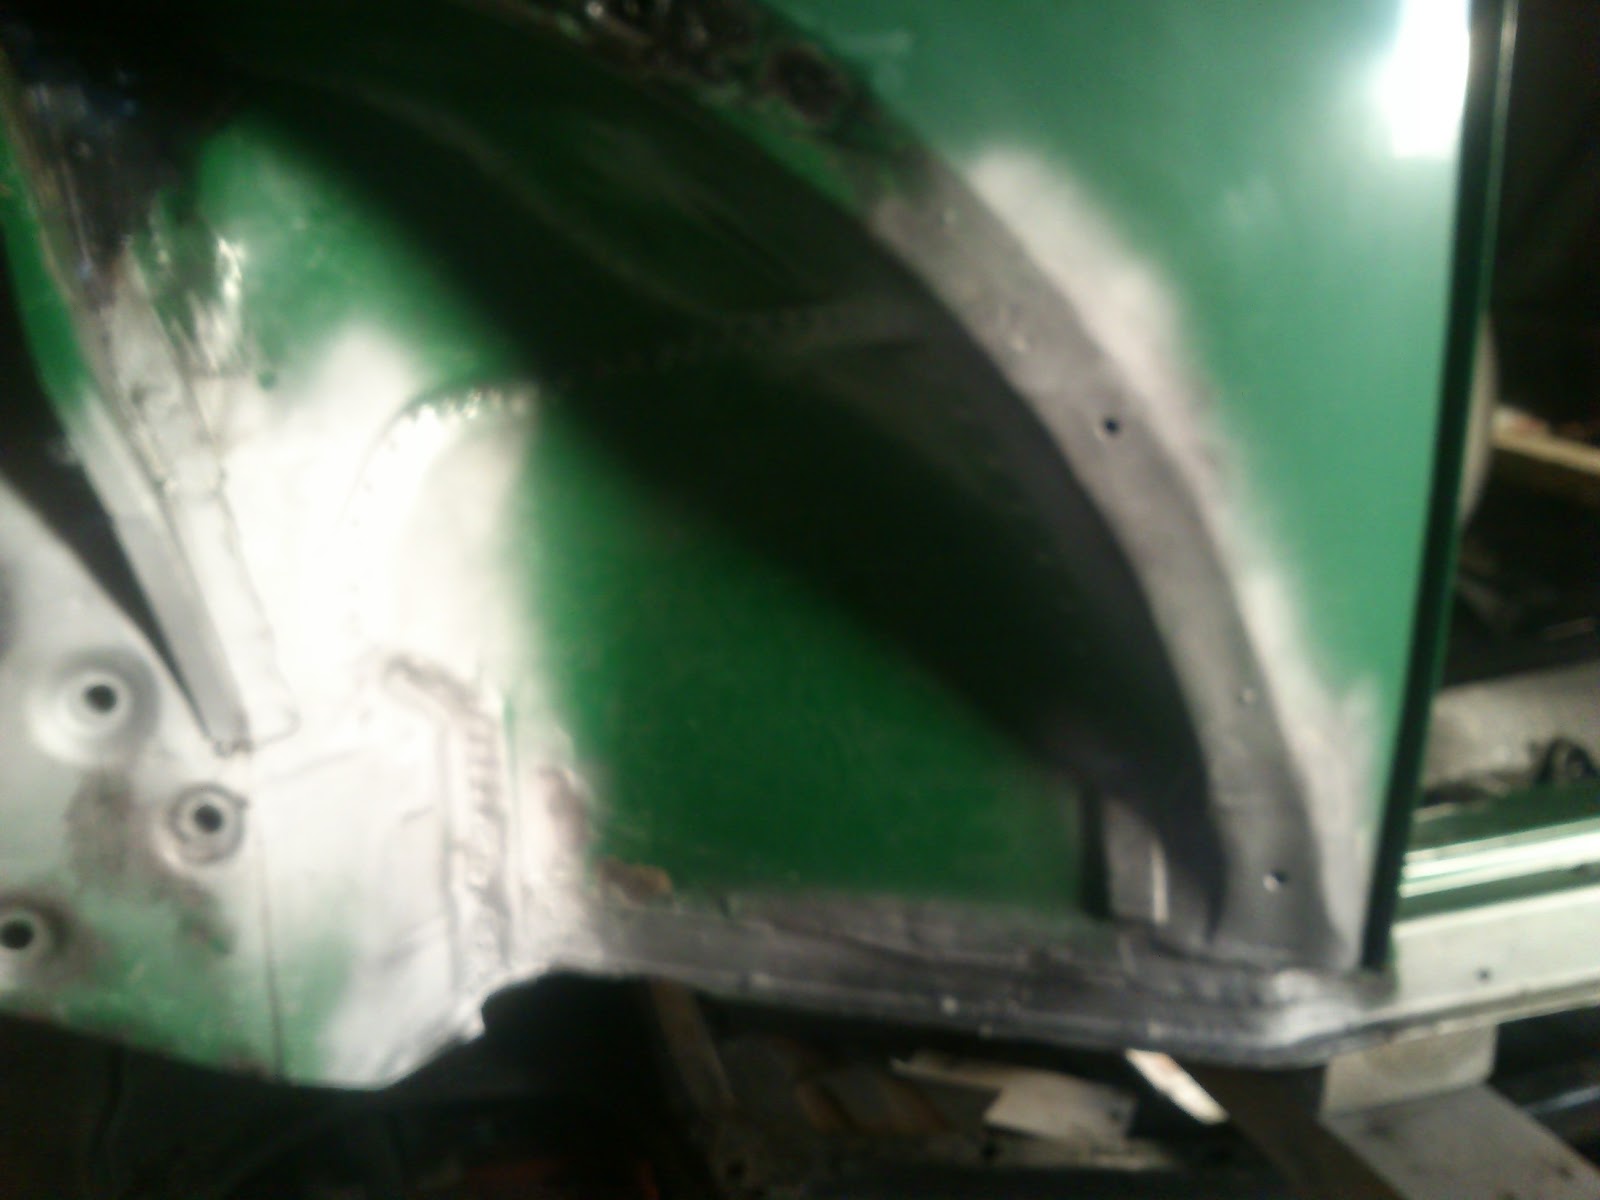
Next was taking off the front valence. Drilled out the spot welds to take if off. The two side piece were rotten at the front too so they were to be replaced.

Front valence off nice and cleanly

Front wing part off
The parts came of really well. It is definitely easier and quicker to use replacement panels as it is quick off and on.

The new valance and front arch pieces went in well. They are welded in but the side arch pieces are just tacked until next week.

New front arch part

Front valence on
That is one side of the car welding done now :-)

Monday, 18 February 2013

Front arch

Wk 28 17/02/13

This week was continuing the front inner arch. First was cutting out the rusty parts for the arch nuts and welding in two new pieces.
Next was the inner arch part. This has obviously rusted from being one of those places where water gathers from the inside. The piece for this went in really well. Then the usual rust treatment and coat of paint.
I had hoped to get the front wing this weekend, even rang and checked they had it in but when i got there they were moving stock and it was in one of the places they couldn't get into. Oh well it is being delivered in the week and can get on with the front part of the inner wing next weekend.

I moved on to cleaning up inside the bonnet area. This is pretty good, a few spots of rust and a lot of dirt and grease but nothing to much to do under here.

engine bay before cleaning

Few spots of rust under the petrol tank were the spot welds were

Cleaned the rust spots up with the wire brush on the drill. Then rust treatment and a coat of paint

Cleaned up and rust treated


Painted up nice and clean.
Been a good days work this weekend and hopefully next weekend we will move around to the front of the car.

Friday, 15 February 2013

Starting front arch

Wk 27 10/02/13

Moved onto the passenger front inner arch this week.  We started on the strut support. Thought this was going to be really complex but it turned out to be quite quick and turned out really well. We cut out the old metal of the strut and behind the strut.

Rusty strut part to replace
 First we replaced the metal behind the strut, welded it in and cleaned the welds back. Next we made up a replacement part for the strut and welded it in. Cleaned back the weld a bit but not to much as it will have seam sealer over it.

Next was a small whole at the top of the strut.
 Cut out a small square and welded in a replacement part, luckily the rust here hadn't really gone far. A coat of rust treatment and ready for a coat of paint next week.

Got to get a new front wing before next week so that I can start work on wing mounts and the front valence.

Sunday, 3 February 2013

Finishing rear arch

WK 26 2/2/13

This week I got my new power tool for grinding back welds as recommended on the Volkszone forum. It was great. Really helped to take back the welds in awkward places and where you have to get upside down.
New power file

Welds taken back, Seam sealer to go over remaining welds so not worried to much about taking these right back

Underneath the car.
With that done I finished cleaning up the last bit in the rear arch and sprayed it up to keep it good for now. I think it looks really good, one quarter of the bodywork done, probably not the quarter with the most work and still got underneath and the body pan to think about !!!
Before

After 

Then i moved on to preping the front passenger arch. I cleaned back all the rusty parts so we can see what's what and will be able to get on to cutting it out and making up new parts next week. There were a couple of bits of rust that weren't obvious at first.
Here are the bits of rust that will need repairing on the inner front passenger arch


Sunday, 27 January 2013

Grinding and rust treating - rear arch

Wk 25 - 27/01/13

Last week I only spent a couple of hours on the car. We finished of the welding for the rear passenger side quarter but with it 6 inches deep in snow outside it was freezing so called it a short day

Today I cleaned up the welds. I took most of them back with the angle grinder and they are starting to look good. I am awaiting a nifty tool to turn up to be able to get into the corners and difficult bits and to make it easier to grind upside down. I'm not the bravest with the angle grinder.

All welded up last week. Looking good.

Started to grind back the welds

 I didn't fancy starting the next big bit of body work with cutting and welding. It has been a long week at work so i fancied something a little easier and relaxing.

I cleaned up the last of the bits of rust in the rear inner arch getting into the tight spaces with a thin wire brush on the drill. Then a couple of coats of rust treatment and next week i'll get it painted to protect it. I got in all the seams to treat them and will put seam sealer on when done.


Moved onto the bottom of the heater channels. They look really clean with only a little surface rust. Started to remove all the underseal that has been protecting it.

Before

After
Then I cleaned up a few spots of rust that are on the side of the heater channel. Nothing major just wire brushed it back and then rust treated


Sunday, 13 January 2013

Continued - the big weld

Wk 23 - 13/01/13 - 1day

So we continued to weld on the rear arch. Its taking quite a while as we are making up the pieces to fit rather then just patch. Today we managed to get the inside all sorted and welded in. Made a start on grinding down the welds but still more to do, especially to get in the corners.

The outside still needs some work. Fabricated the replacement piece for the wing to go on and sprayed up the back ready to go in next week. There isn't much to write about this week as it is quite a time consuming bit. Rich did all the welding and I have been doing some preparing and making the metal part, some grinding and more cleaning up the underseal in the inner arch ready for when we get in there.


All the welds still need further cleaning up but it is coming along.

Sunday, 6 January 2013

Rear arch - start of the big weld

Wk 22 - 06/01/13 -1 day

So today I started on the big patch of rust on the rear wheel arch. First was assessing what needed doing. There was a lot of rust and a MOT job repair done on it. First was the standard prodding with a screw driver.
View from the outside with heater channel patch taken off

View from the inside with some prodding done
Then I came to take of the inside patch. I decided to preserve as much original metal work that was good so ground back the welds to get the patch off.

Original patch removed
Original patch removed - outside view
The last of the bad metal was cut out and then Rich started his work on getting the new metal cut and shaped to go in. This isn't going to be a patch job but a good repair. One it is painted up and seam sealer on it should look great and won't look like a patch repair.

So Rich got the first 2 pieces of metal in and then i ground the welds back were they needed. A quick coat of paint to keep the metal good ready for part two next week

First stage of repair done.

I also managed to get a bit more painting done on a couple of piece that i had cleaned up. They look really smart now that they are painted up.